Previously, having a product photograph edited to studio standards involved hiring a photographer, installing lighting, and then going through the lengthy editing process. This is not the case anymore. Through the use of Nano Banana AI, a product image captured using your phone or any simple camera will become studio-standard, ready to be published within a matter of minutes. In this article, we shall go through the entire process of using this tool.
What Is Nano Banana AI?
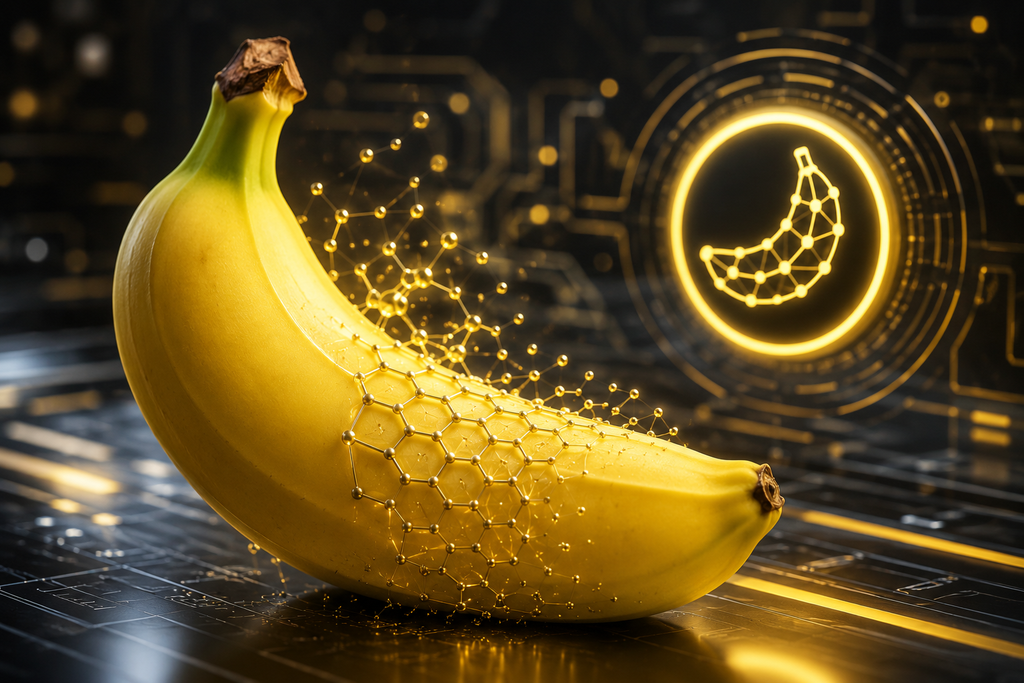
The Nano Banana AI name refers to Google’s Gemini-powered image generation and editing model. In contrast to other AI image generators that create a completely different interpretation of an image, this particular model is designed to preserve specific product elements, including its shape, colors, proportions, and labels, while replacing everything else around it.
It plays a crucial role in product photography, since a breathtaking background will mean nothing if your logo or product size is distorted. That is why more and more people choose Nano Banana AI photo editing as a substitute for regular shoots and save time. You can also see the new editions called Nano Banana Pro and Nano Banana 2. All in all, the difference between the new editions is improved resolution quality, while the workflow remains the same. In any case, the steps mentioned below are relevant for beginners regardless of the edition they use.
What do you need?
It does not matter what equipment you use; the results will be impressive anyway. Still, several simple steps will make a huge difference at the final stage. To begin with, you should choose the right source photo. The object needs to be well-lit, focused, and central. The photo also needs some extra space around it. The more disorganized your background is and the blurrier your photo looks, the more chaotic the result will be.
Then, you should decide on the location where you will work with the image editor. You can use nano banana ai either within the Gemini application, via a web browser, or on any other platform that includes it in its editors. All options work in almost the same way, so you can choose whatever suits you best. Finally, you should define your goal beforehand. Are you planning to create a white background photo for marketplace purposes? Do you want to create a lifestyle photo to demonstrate the use of a product? Or maybe you just need an ordinary flat lay photo for Instagram?
How to Use Nano Banana to Edit Product Photos (Step-by-Step)
Step 1: Upload Your Product Photo
Start the app and upload your source picture. Usually, the tool supports standard formats like JPG, PNG, and WEBP, making it possible to use almost any image without problems. If the file is really huge, it is better to reduce its size, which will speed up the process.
Step 2: Choose Your Edit Goal
The next step requires you to think about the image transformation type you need. It can be a background swap or an entirely new scene generation that includes your product. Knowing the desired result at this point will make the next steps more efficient.
Step 3: Write a Specific, Structured Prompt
This is where all the magic happens. A general request like “make it look nicer” never works. The best prompts usually include information about the subject, background, light, and style of the resulting image. For instance, here is how you can describe a skincare bottle transformation: “Put this bottle on a marble background with soft natural light coming from the left side, little shadows, and clean modern style. Preserve the shape, label, and dimensions of the bottle.” As you can see, there is one additional instruction in this prompt. It may not seem significant at first glance, but the AI likes adding some details of its own to the pictures. So, asking it not to do so in advance helps to avoid unnecessary problems.
Step 4: Generate and Review the Result
Upon generation, take some time to study the picture. Determine whether the text on labels is readable, proportions look natural, and shadows fall logically. In case AI models sometimes misinterpret small physical details, such as the lack of a cord, unusual reflections, or distortion of an edge, discovering this problem beforehand will help you not publish an image that has a flaw.
Step 5: Refine One Element at a Time
If you notice anything wrong, avoid rewriting the entire prompt again. Instead, you should change only one detail at a time, like the direction of light or the background color. This way, you will probably reach your goal more quickly compared to starting everything from the very beginning each time.
Step 6: Export and Prepare for Your Platform
When you are ready with your image, export it in the best possible resolution. Requirements are different for different platforms — e.g., marketplaces like Amazon require a pure white background in the main product image, while Instagram and your website do not have such limitations. It is better to generate at a higher resolution because you can still crop your image after that.
Nano Banana Prompt Examples for Product Photos
For simplicity’s sake, some prompt instructions have been provided below for various use cases. You can adjust the wording to fit your particular product.
Background is White/ Studio Photo
Describe the placement of the product on a white or light gray background with even studio lighting and no harsh shadows. This format suits product pictures used as listing photos on all kinds of marketplaces.
Lifestyle Product Shot
Request that the product be photographed in a real-life scenario appropriate to the way it’s going to be used; for instance, a coffee mug should be photographed on a kitchen table with the light of dawn pouring in. It will help the customer imagine how the product can be used by them.
Flat Lay
Request the photo be taken from a top view with the product and the accessory carefully placed on the texture. The flat lay format is particularly useful for posting on social media.
On-Model Shot
Describe the product in its natural appearance in hand or on a model. This will provide the necessary information about the product’s size and scale.
In every case, don’t forget to request preservation of the product’s integrity. This one rule will make your photos more accurate.
Common Mistakes to Avoid
Nevertheless, there are several things that may limit your outcomes even when using such efficient software. Knowing about them in advance will help you avoid some troubles. To begin with, a lack of precise instructions provides too many possibilities for interpretation, which might result in the use of stylistic devices not intended by the user. Another thing worth mentioning is that neglecting the instruction about preserving proportions and labeling details is what usually leads to the distortion of logos and the formation of strange product shapes. What is more, most people tend to ignore the rules regarding images on different platforms before posting their listings. Last but not least thing is that most people stop editing after generating an image the first time.
Nano Banana vs. Traditional Product Photography
It would be pointless to try to choose between the two methods; however, it is beneficial to learn about the strengths of each one of them. The traditional method of photographing a product is preferred when the product has very delicate features that should be preserved during the shooting process. It takes less time and money to make multiple versions of a product using AI editing; in addition, this process doesn’t require taking new pictures. Most people prefer to combine both methods of photographing and editing photos. First, it is important to take a decent base picture using your cell phone, and then apply AI editing tools.
Tips for Better Results
There are just a few simple tips that will increase your results considerably. Make sure to be precise about lighting conditions in your prompts. Specify particular lighting vocabulary terms like “soft window light” or “dramatic studio lighting.” Include material or texture details in your prompts like “matte finish” or “glossy surface.” If you want to create several images of a certain product, use the same background, angle, and lighting description.
If you’re looking for AI tools to earn money or the best side hustles, check out our other guides on those topics.